
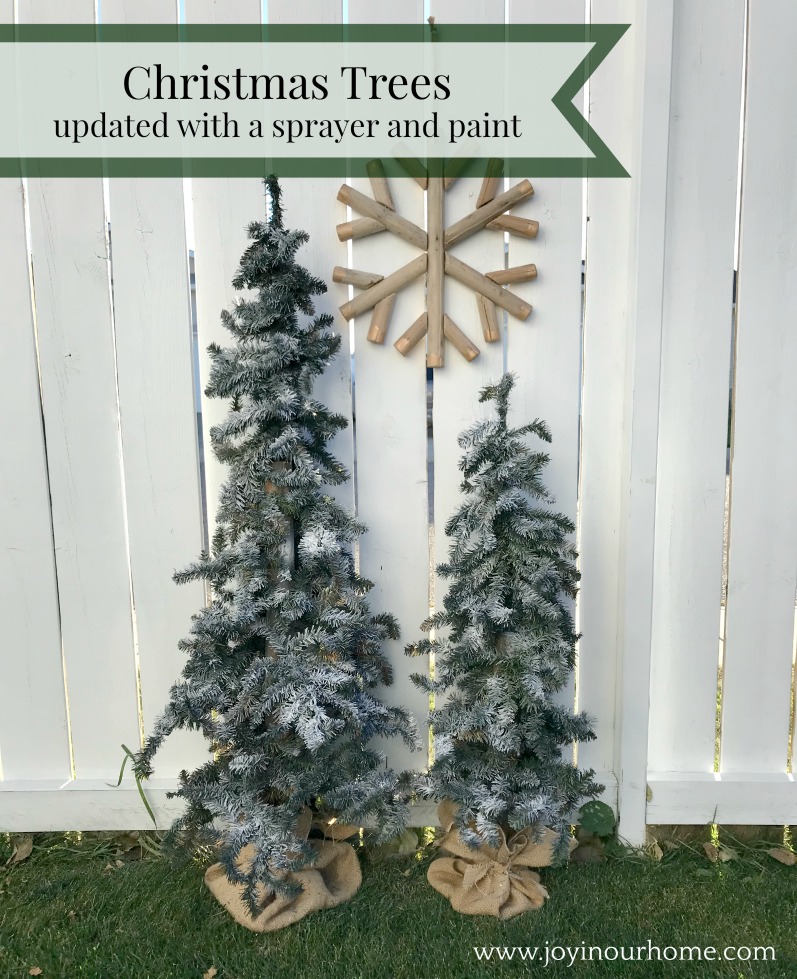
A quick and inexpensive update to Christmas trees using a HomeRight sprayer and paint.
 This post contains affiliate links. Please note, if you buy anything through the links, you never ever pay a penny more! You’re just helping support my little blog 🙂 For my full disclosure,click here.
If you’ve read my blog for a while you know how much I love finding pieces that need some TLC and giving them new life. (And if this is your first time here, welcome! I’m SO glad you stopped by 🙂 )
When I stumbled upon these trees at a garage sale I didn’t give them a second thought. I knew right away they were coming home with me and I could spruce them up (pardon the pun!)
You know sometimes something is so ugly that it’s actually cute? That’s what I thought of these trees. I liked their size and shape but really, they were so droopy looking and loaded down with a gazillion pinecones. They kinda reminded me of a Charlie Brown tree.
I knew two of my very favorite tools I’ve used for many DIYs would come in handy when giving these guys a makeover. I used my HomeRights Small Spray Shelter and if you’ve never heard of these, you really need to check them out here.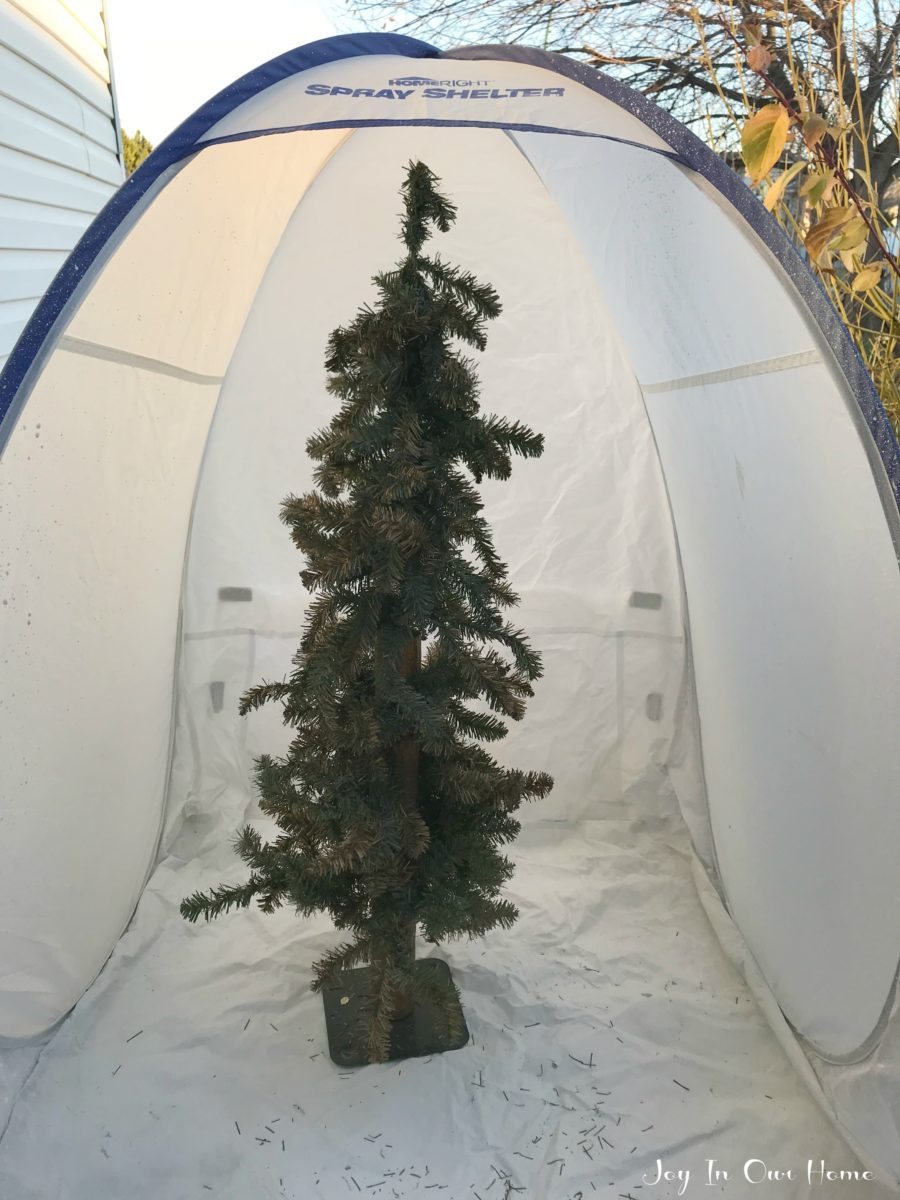 It’s basically a pop up tent that you use for painting. After unzipping the bag you store it in, it just pops up on its own and is perfect for painting things in your garage and you’ll never have to worry about getting paint on your vehicles, floor or anywhere else. I used to use cardboard boxes to paint in but this is SO much handier and way better for the environment too! This tent measures 39″ tall by 35″ wide and 30″ deep and is perfect for so many painting projects. I actually set it up outside this time and even though there was a little wind, the tent is the perfect shelter for your project and it took only minutes to finish!

Now can we talk about the Finish Max Paint Sprayer ? This sprayer has gotten so much use that I think we might have to get a new one soon. The first project I ever used it for was painting our front door and we’ve been hooked ever since. It sprays evenly and the thing that impresses me most is the amount of paint it uses. A little really does go a long way!
 So onto updating these trees…
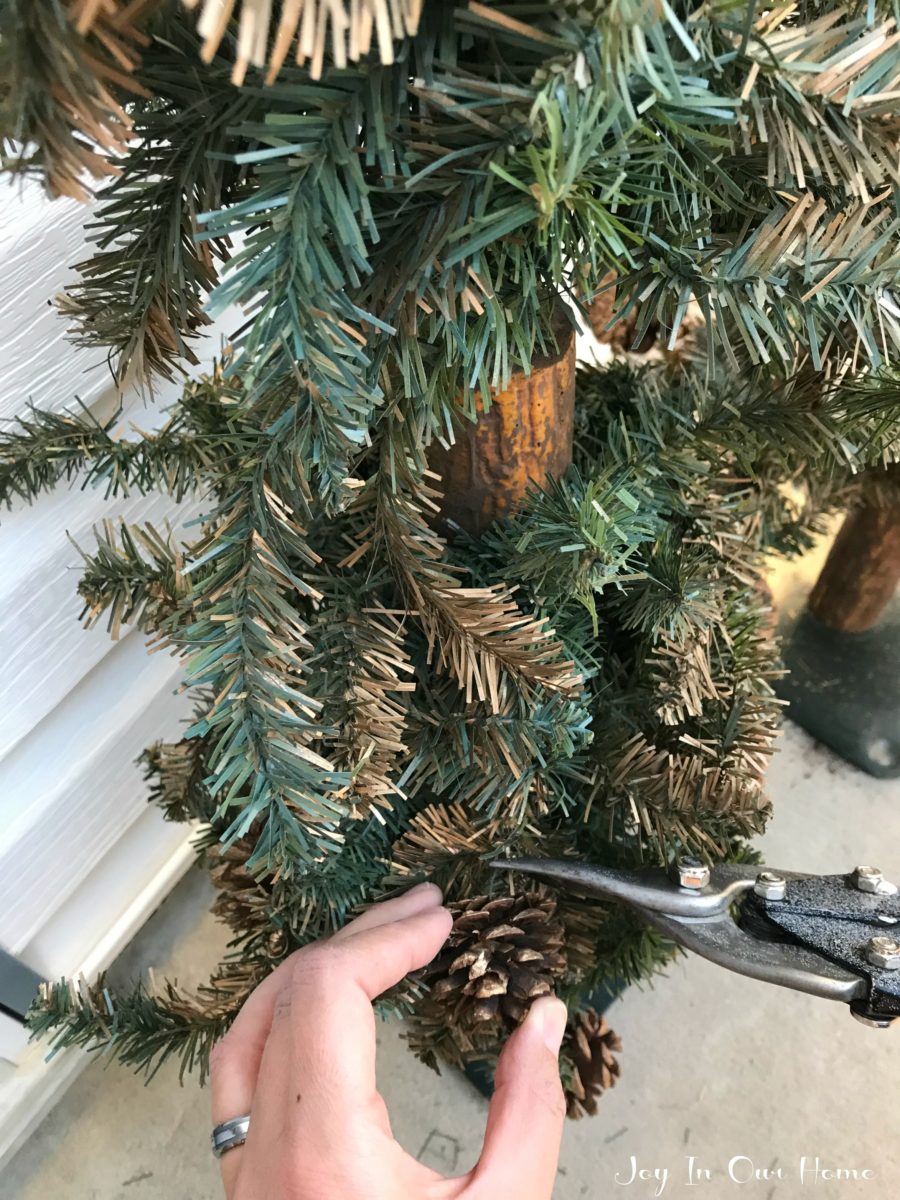
The first thing I did was give them a good dusting and then using some wire shears, I clipped off all the pine cones (and kept them for another project coming soon). It was hard to get a good ‘before’ picture but in the above one you can see the gold/green finish it had. Very dull and it needed some life to it. 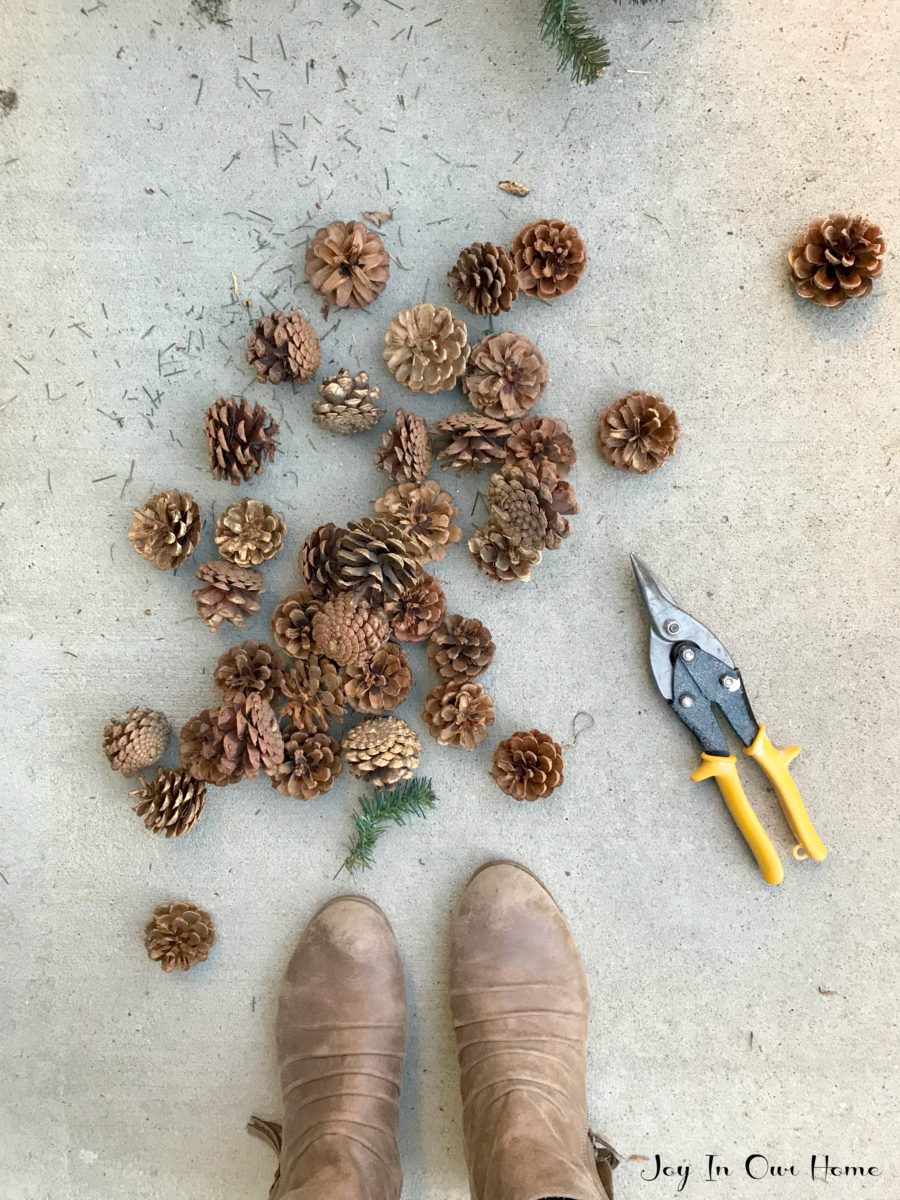
The instructions for the sprayer are easy to follow along and it’s very user friendly! I sprayed both trees using some green paint I picked up at Home Depot and let them dry. Before cleaning out the sprayer I gave it another light coat just to make sure it was covered evenly and that’s it!
Since flocked trees are my favorite, I used some Sno Blower to give them the look of a snowy tree. I kinda wish we had some real snow when photographing them but our weather is so beautiful right now that I’m just going to savor this weather and the snow will come soon enough!
I’m so happy with the fresh new look of these little guys and a huge thanks to HomeRights for amazing products that are so easy to recommend to my readers!
Thank you for stopping by today friends! Have you bought any seasonal decor or done any Christmas crafts yet? It’s never to early to start! 😉
Enjoy your weekend friends… it’s a busy one for us here!

What a great idea Kendra! LOVE the new snowy look! And I’m sure we’ll have the weather to match in no time! 😉
Thank you, Kristi! And I think the fluffy stuff is supposed to come again this week! Hope you’re having a wonderful week, friend! xo
I hadn’t thought to paint my faded old yucky trees! Genius! Thanks for sharing!
Yes, do it, Cindy! Instant update and so easy! Thanks for stopping by! xo
These trees are so cute now! Don’t you love finding stuff like that knowing you can make it better?!!?
Exactly, Jamie!! That’s my favorite stuff to shop for! 😉 Thank you, friend!