One Room Challenge: Week 4 Progress During Spring Break

Happy Thursday y’all!! Once again, welcome back to the 6 week One Room Challenge! I keep thinking to myself how happy I am to be a part of this challenge because I know without a doubt, we wouldn’t be this far along if we weren’t working on a deadline. For those of you who aren’t familiar with the ORC, you can read here about Week 1, Week 2 and Week 3.

This is our inspiration board:

inspiration board masterbed

Linda, our host, mentioned that this week can be one of the most challenging. I know what she means… so I’m not surprised as I sit here and feel like I don’t have anything huge to reveal that we did this past week. Nevertheless, there were little things that I checked off our to do list and being in the middle of spring break has kinda put things at a slower pace as well. During Easter weekend we took a mini road trip and I’m feeling a little behind now, but I sure don’t regret time spent away with my sweet family! We’ll get our workin’ boots on this weekend and hopefully show you some big and fabulous accomplishments next week!

My husband built this fabulous board and batten headboard for behind our bed. It still needs a couple coats of paint, but I thought I’d show you anyway. I am loving the way it looks already! If you remember our before pictures, our room was sooo drab looking with gold curtains and lots of brown tones and I find myself saying over and over I love how bright it’s beginning to look. Love, love all the whites!!

IMG_0509

and one more…

IMG_0514

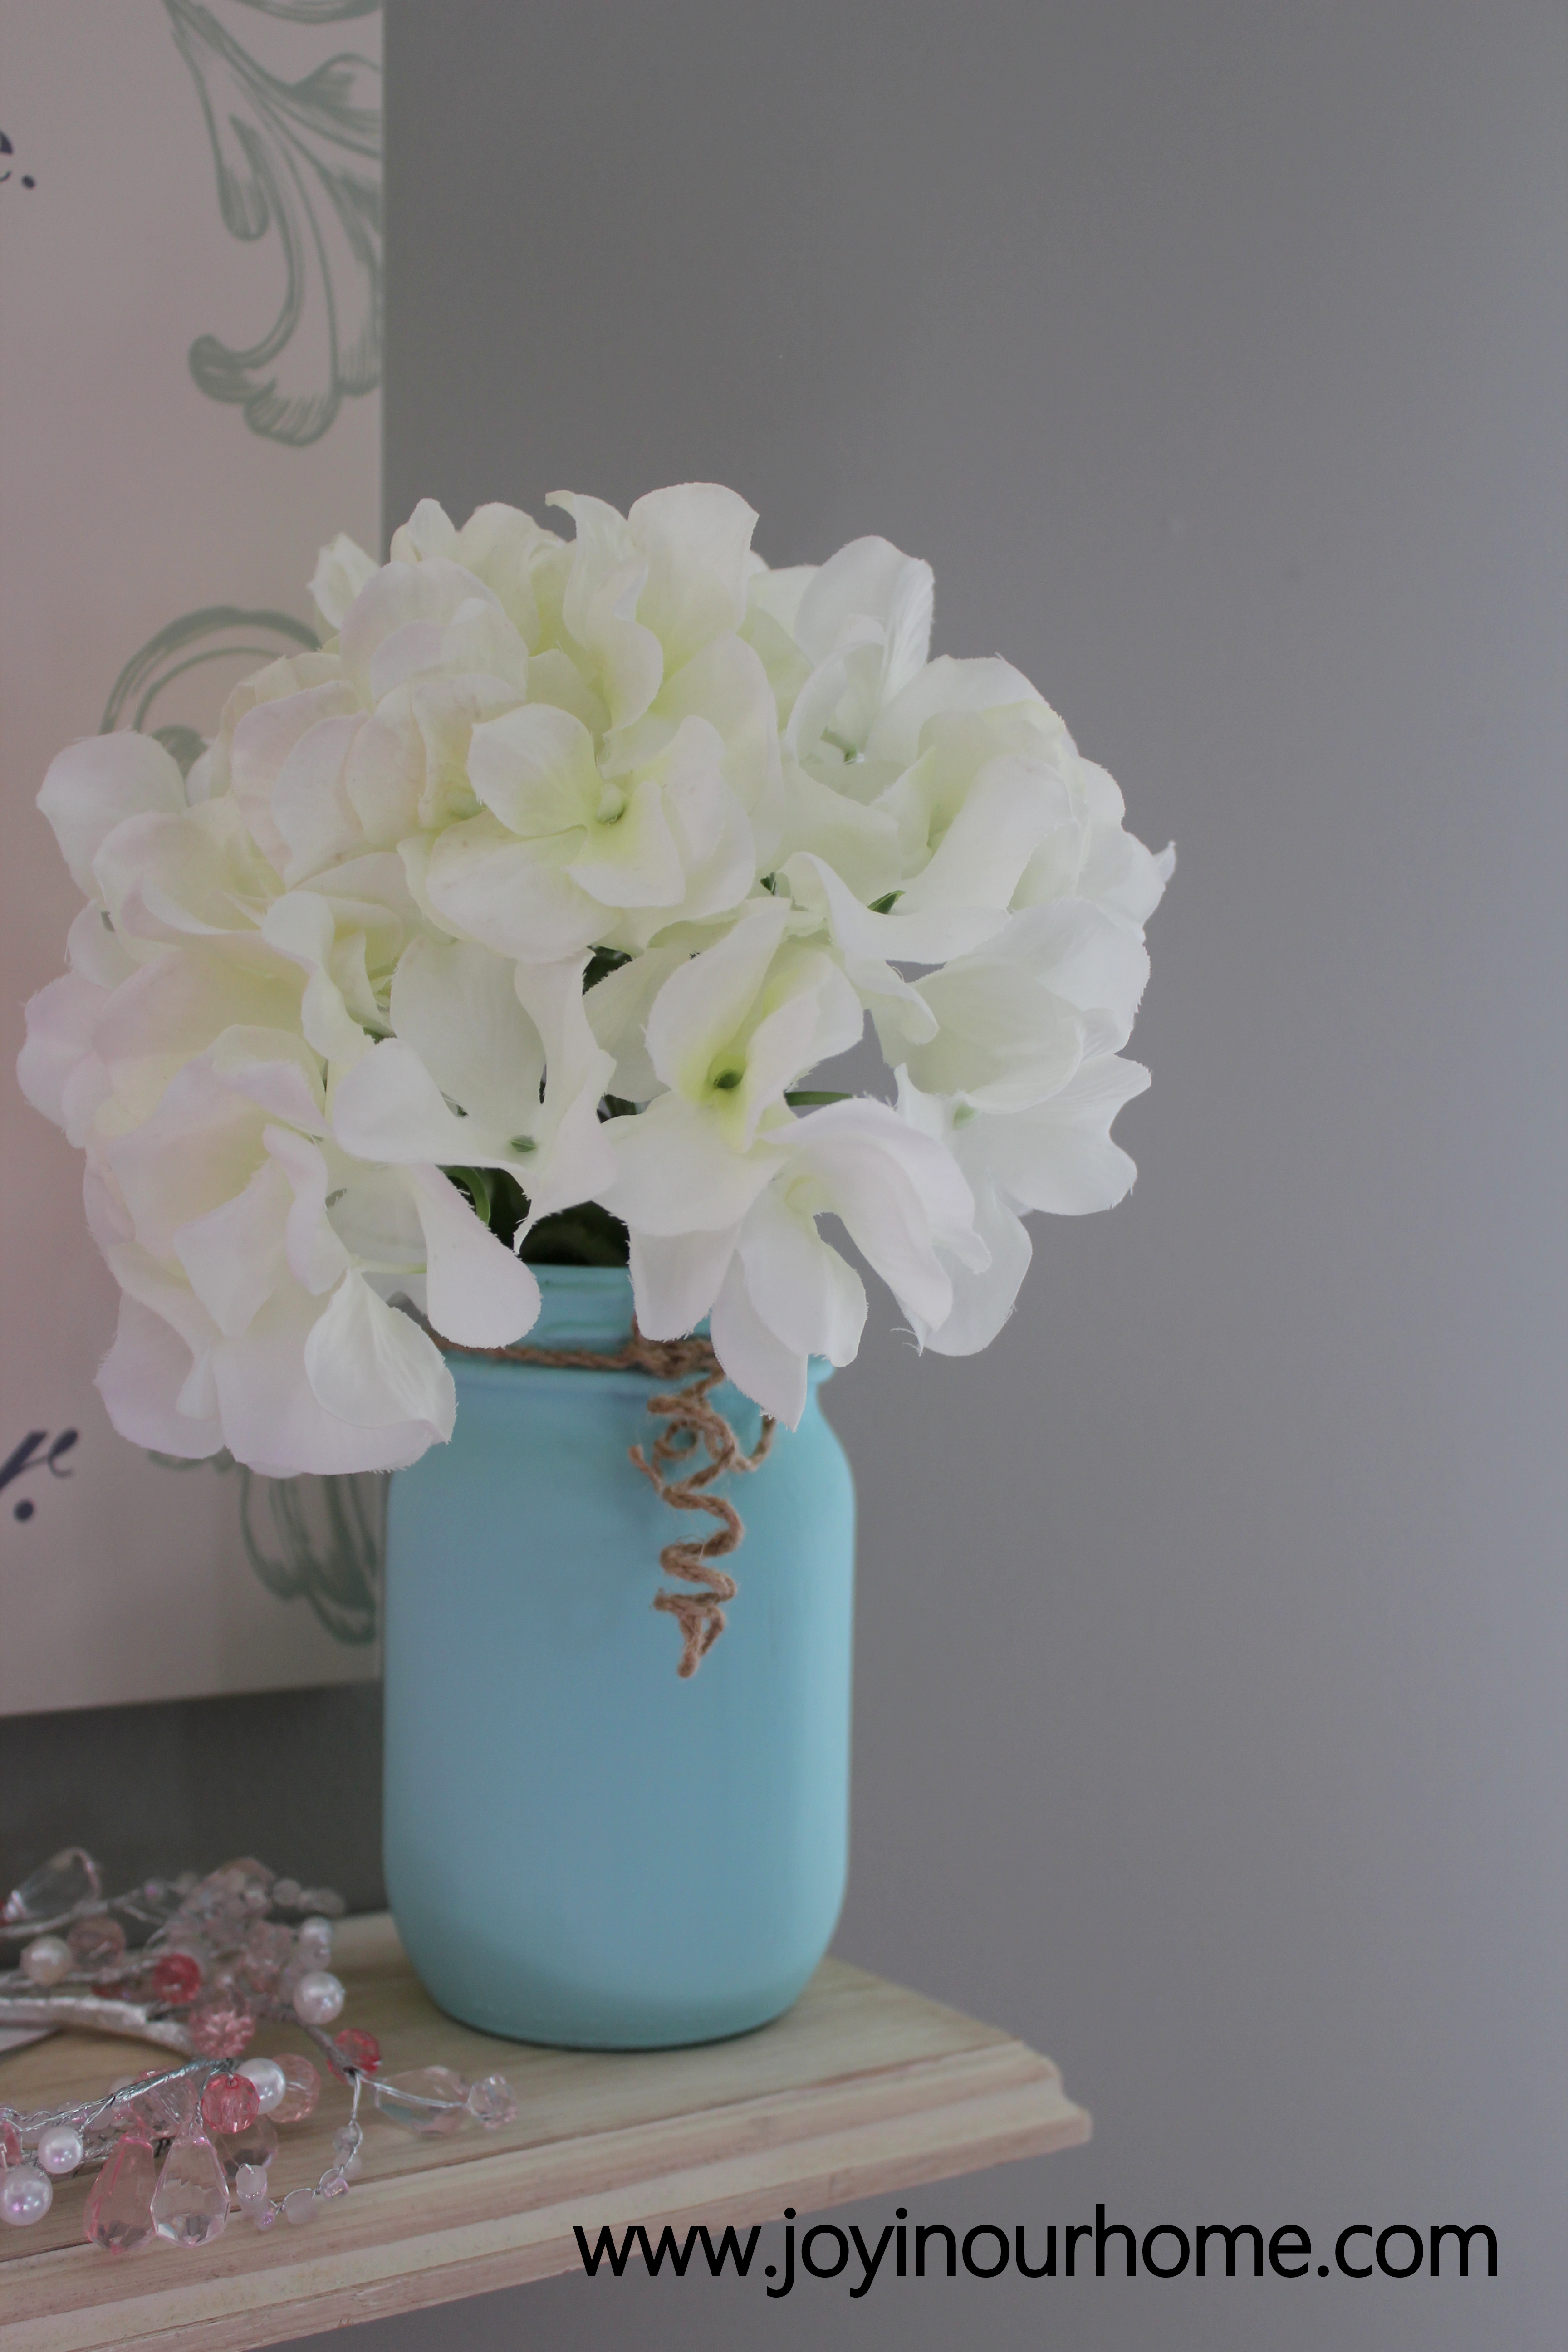
The fabric we ordered from Tonic Living arrived this week. I was so excited to receive it…. it looks as beautiful as I pictured!

IMG_0516

Just in case you missed it last week, this is the coffee table I found at an extremely awesome price and we’re going to work some magic on this one and make it into a bench :) I am so excited about it!

IMG_0476

My big dilemma now is finding hardware for the dresser and end tables.

So …. here’s our TO DO list for this next week:

* prime dresser and end tables

* find hardware for dresser and end tables

* recover lampshades (found fabric this week!!)

* coffee table transformation to a end-0f-the-bed bench :)

* finish painting board and batten head board

* still looking for some pieces for our gallery wall, so I’m hoping this next week something jumps out at me and captures my attention)

We are getting down to the wire, friends!!! This is a project that I was totally saving for summertime …. I can hardly believe it’ll be done in a couple weeks!! Thanks so much for coming by ad following along on this fun journey!

Until next time,

Kendra


One Room Challenge: Week 3 Amazing Find & Progress Update

Welcome back friends!! We are onto week 3 of the One Room Challenge!

pin it button

Just for a quick recap, week one was all about the “Plan” for our master bedroom makeover and week 2 I showed you the “Progress”. I am still working on the sanding…. Spring has arrived to our neck of the woods which, at our home, calls for more time at the park, more bike rides and more running. I sand here and there, basically whenever I get 10 minutes of free time.

I am especially excited for this post because I found the deal of the year!!! I am sooo, so excited for the chandelier my husband found at Home Depot. It is exactly what I had envisioned for our room and the best part? The price tag!!! It was regular priced in the $90′s (can’t remember exact price) and then it was marked down to 50% and then when my husband saw them, it was$20! Yes, $20… your eyes are not playing tricks on you! We may or may not have bought more than one ;) Here’s a picture of my new favorite chandelier!!

IMG_0469

… and another shot just because I love it so much….

IMG_0465

In my plan during week 1 I mentioned I would love a bench for the foot of our bed. I looked at furniture stores and online and the ones I like were in the $500-$600 range. That is way out of our price range so I got dreaming of me my husband building one perhaps. One day I was walking out of the grocery store and there’s a bulletin board where people have ads where they are selling random things. There was a coffee table that caught my eye and it was only $15! I totally saw the potential behind it and we are going to transform it into our bench for the foot of the bed!!! I ordered the fabric from Tonic Living and now we’re just waiting for it to arrive.

IMG_0476

So that’s my deals for this week… I’m pretty exited about them! Michael’s also had an awesome 50% sale with an additional 20% coupon so I scored a few more décor items.

IMG_0472

Thanks so much everyone for stopping by… we are halfway through this challenge as off today! Spring break officially starts for us today and we don’t have too, too big of plans so I’m hoping to get lots accomplished by next Thursday. Hope you have a wonderful Easter and cherish the time you get to spend with your loved ones!

Until next time,

Kendra

EGGcellent Easter Treats

Today I want to share a super easy and quick Easter treat that I made for our kid’s teachers. I just wanted a little something for our little ones to give to their teachers as a way of saying “thanks for being a fabulous teacher!” These were quick to make and look so cute!

IMG_0423

You will need:

* Easter treats of your choice, Easter grass, little ziplock bags, and colored paper of your choice

* You will also need “You are an EGGcellent Teacher” printed for however many you are going to make.

IMG_0421

I found the pack of ziplock bags in the craft section of our dollar store. They were the perfect size to fill with some Easter grass and chocolate eggs.

First, I used my Cuttlebug and a Sizzix die to cut out the yellow and purple tags. I then folded them length-wise and glued my “You are an EGGcellent Teacher” tags on to them. I didn’t want the staples to show through my tags so I just stapled the back of the colored tags to the ziplock bags and glued the front of the tag to the back.

And there you go! A super cute lil’ Easter treat. I am planning on making more for the kid’s friends and some for our neighborhood friends that say “You are an EGGcellent neighbor”. Really, you could make them say anything… from Grandparents, to aunties, to uncles, to friends, etc. A sweet and yummy way to show someone you love them!

IMG_0429

Why not make some of these this Easter? They would be super cute in your lil’ ones Easter baskets as well! Thanks for coming by, friends!

Until next time,

Kendra

Linking to: Work it Wednesday

Anything Blue Friday

Painted Mason Jars

Hello Everyone!

Hope you’re all having a fabulous day :) It is kinda cool here today but loving how it feels springy and the grass is starting to show signs of green! Yay!!

Do you decorate much for spring? We don’t do too much, but this year I did go out and bought some hydrangea bunches and other greenery to make the house look springy and add some pops of color. After seeing mason jars popping up on Pinterest everywhere, I decided to paint my own. They are super easy to make and I thought I’d share the tutorial with you today.

IMG_0404

What you’ll need:

Quart sized jars, paint and foam brush

For paint, I used Craftsmart brand from Michaels. The little 59mL bottles were on last week for 66 cents each so I stocked up! The three colors I used for these jars are white, grey and robins egg blue.

I started painting at the bottom and then painted all the to the top, including the rim. I then let them dry completely, about 6-8hours. Waiting for them to dry is the hardest part because I wanted to get that second coat on right away. But this is very important in letting the paint harden…. ahem, I may have learned this the hard way!

IMG_0298

I gave my jars another coat after they were completely dry. Depending on the kind of paint you use, they might need a third coat or just some touch ups after the second coat. It is best to seal them with a clear coat of matte or satin sealer to prevent any chipping.

IMG_0395

I wrapped some twine around mine and filled them with some hydrangea stems. Our little ones love to bring me flowers in the summertime so these will also look great with fresh flowers as well!

Thanks so much for stopping by and hope you have a fabulous week!

Until next time :)

Kendra

Linking up to:

Frugal Crafty Home Blog

Anything Blue Friday

The Dedicated House

The Maker’s Link Party


One Room Challenge, Week 2: What We’ve Done So Far & More Plans

Welcome back everyone!

Thanks so much for all the sweet comments you left on last week’s post, which was week one of the One Room Challenge. Can’t believe how quickly a week flies by…. maybe it’s because I’m working on a deadline now!! Kinda scary but so exciting, all at the same time. It seems like most of the things I accomplished this past week are behind-the-scene details, but still important.

One Room Challenge

pin it button

First of, let me tell you those ugly gold curtains are gone! Ta-da! Just like that they were added to our garage sale/donation pile. I’m not sure why we didn’t take them down long ago! Oh well :) The most exciting change so far, are the white, sheer curtains we just bought at Ikea! They are hung already and I love, love how bright they make the room feel already! (I didn’t get a picture of them just yet, as I am planning on hemming them this weekend.)

This week was all about the dresser. First, I unscrewed all the wooden drawer handles and then unscrewed all the fronts of the drawers. I didn’t realize we could unscrew the fronts of the drawers but was so excited when my husband was saying how much work it’ll save us, not having to move all the clothes out of them. Yay!!

IMG_0380

I started sanding the drawers yesterday. You might think I’m kinda crazy, but I enjoy sanding. Maybe I won’t be saying that after I’m on my ninth drawer, but for now, I’m having fun! My sweet Mom actually varnished this dresser for me. I thought of her lots as I was taking the drawers apart and when I started sanding. She was very nervous when I told her what I was planning on doing with it. I can’t wait to show her the end result. My cousin built this set and I’m just noticing all over again what great quality it is.

IMG_0388

Sanding away…

IMG_0393

So here is the plan for the next few weeks:

1. Sand dresser and end tables.

2. Prime and paint dresser. Install new hardware.

3. Shorten and hem new Ikea curtains.

4. Find a few more pieces for the gallery wall and make pictures for the frames.

5. I’m desperately looking for some upholstery material for a bench for the foot of the bed. We haven’t found anything we like at the fabric stores here in town so I just might order from Tonic Living. They have a fabulous selection and it should be here in plenty of time.

I’ve been saying all winter that this is our summer project but I’m so excited that this will hopefully all be done before the long weekend in May! Wahooo!!!!

Thanks again for stopping by and have a fabulous weekend. I hope spring has finally come to your neck of the woods :)

Until next time,

Kendra


Vegetable Fried Rice

Happy Wednesday y’all!

How’s your week going? All of a sudden, it feels like the days are getting busier. For us, it’s lots of walks to the park, bike rides, and just spending time outside. Which means, less time in the kitchen. Eating ready-made boxed food is not an option for our family, so I’m always on the look out for nutritious meal ideas and if they are quick to whip up, it’s a bonus for days that are busy.
Our family loves, loves rice. And this fried rice is one of our favorite ways to eat it. I’ll often cook the rice in the morning and then just refrigerate until I’m ready to throw it together. What I love about it too, is that it’s so versatile. It’s one of those recipes that you can omit whichever veggies your family doesn’t like and add the ones you do enjoy!

IMG_0344

Ingredients:
* 2 cups cooked rice

* 1/8 cup each, carrots and celery, chopped

* 1/8 cup frozen peas

* 1 garlic (chopped)

* 2 tbsp. soya sauce (we use sodium-reduced)

* 2 tbsp. extra virgin olive oil

* 2 tbsp. chicken soup base mix

* 1 tbsp. sesame seeds

Cook rice according to instructions. Let cool. In a medium size bowl, mix rice, carrots, celery, peas, garlic, soya sauce, oil and chicken soup base mix. Fry until browned. Add sesame seeds before serving. (Optional: A few minutes before fried rice is ready, I often scramble an egg and mix with the fried rice.)

4 Servings

IMG_0348

Thanks for stopping by everyone,

Kendra

Linking Up To: Wake Up Wednesdays

One Room Challenge: Week One, My Room INTRO & PLAN

Hello Everyone!
I am excited to tell you about a challenge I’m going to participate in!!! Linda over at Calling it Home has challenged 20 home-design bloggers to make over a space and show their progress over 6 weeks. This is so exciting for me, because Linda has invited anyone else to come share a room or space we’d like to make over as well.

One Room Challenge

pin it button
I knew right away which room in our home I was going to tackle. Without a doubt, it’s our master bedroom. We have done many upgrades in our home, but our bedroom has always been put on the back burner. It’s the one room where the door always gets shut when company is coming. Stuff gets dumped there and sad to say, it is in dire need of some TLC! So, without further ado, I am going to show you some before pictures!

IMG_0334

This wall has the walk-in closet and onsuite bathroom doors on it. Also the beautiful location of our ironing board, the place where anything and everything gets stored. My goal for this space is a beautiful gallery wall and to finally put that board and iron in its rightful place— in the laundry room. Surprise, surprise!

IMG_0329

There are actually 2 windows like this on this wall, both with these gorgeous ugly curtains on them. They are gold and make the room look so blah and dreary. I’m hoping for something white and sheer to give the a brighter look but still give I a soft and warm feel.

IMG_0306

The reason I’m entering this challenge is to give me a push to hopefully finish or even get close to finishing this room by May 8. We’re going to be trying to keep the cost to a minimal and hoping to score a few deals on some pieces for the wall gallery and hopefully a bench for the foot of the bed. I have been putting off redoing our dresser and end tables for over a year now but this challenge just might have me busy sanding and painting by next week! Yeaa!!!!!!

Here is our 6 week plan for our bedroom:

* Re-do dresser and end tables in white

* Bigger lamps and a chandelier

* Gallery wall

* New bedding

* End of bed bench

* Curtains

* and maybe, just maybe…. a board and batten head board! ;)

Here’s our inspiration board… I love all the beautiful whites in these rooms!

inspiration board masterbed

Please come join me each Thursday as I share my progress with you. Thanks for stopping by and have a fabulous weekend!

Until next time,

Kendra


Linking up to: One Room Challenge

Grace At Home

Hit Me With Your Best Shot


'