
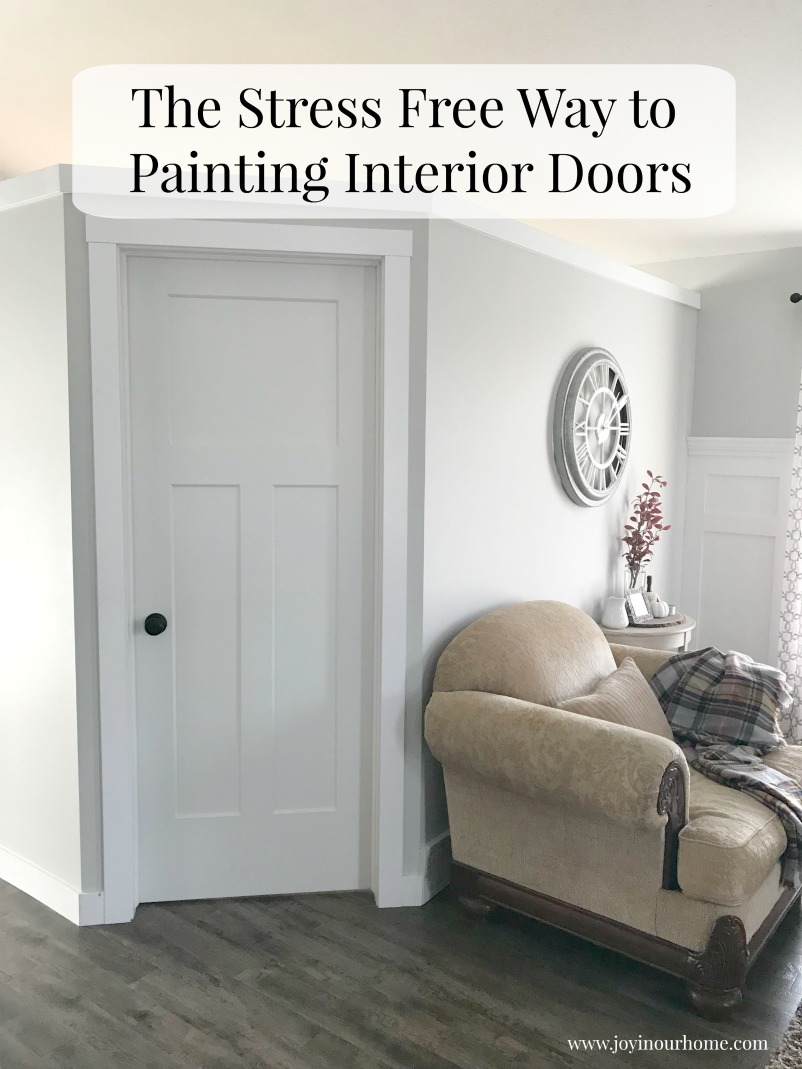
With the help of a couple of handy tools, painting projects like doors can become so much easier!
 This post contains affiliate links. Please note, if you buy anything through the links, you never ever pay a penny more! You’re just helping support my little blog 🙂 For my full disclosure, click here.
Do you enjoy crossing things of your to-do list? There is something SO darn satisfying about making that line through something that needed done.
Like painting the doors in our home. There are 20-some of them and they all needed painting. They’ve been staring in our faces and while I tried to ignore them, I knew they weren’t going anywhere so my husband and I got out our trustworthy HomeRight large spray shelter and got to work.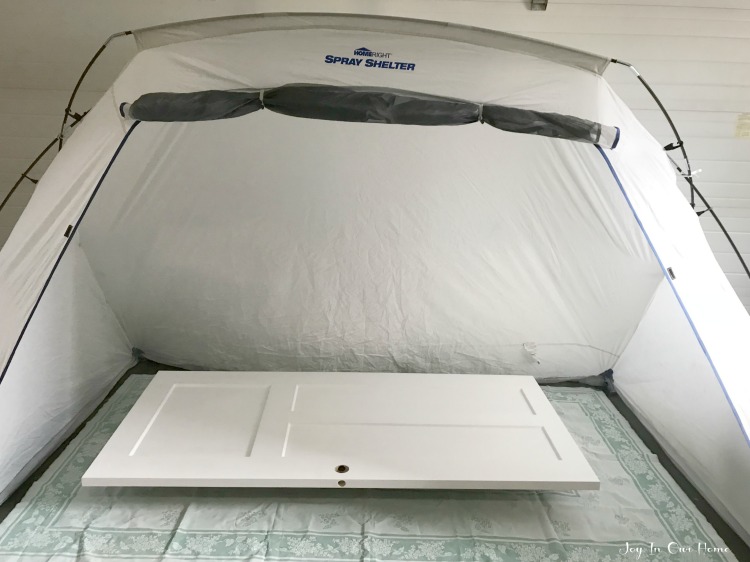
And really friends, why do we put off things that aren’t so hard after all? I think more than anything it’s just the thought of painting 20-some doors that was making us procrastinate!
Before I start chatting about painting the doors, let me first tell you about our spray shelter. We first used it two summers ago when we painted our front door and we’ve used it for so many projects around our home since. Last week I shared how I gave these old and frumpy Christmas trees an update with our smaller spray shelter but today I’ll chat a little bit more about the larger tent.
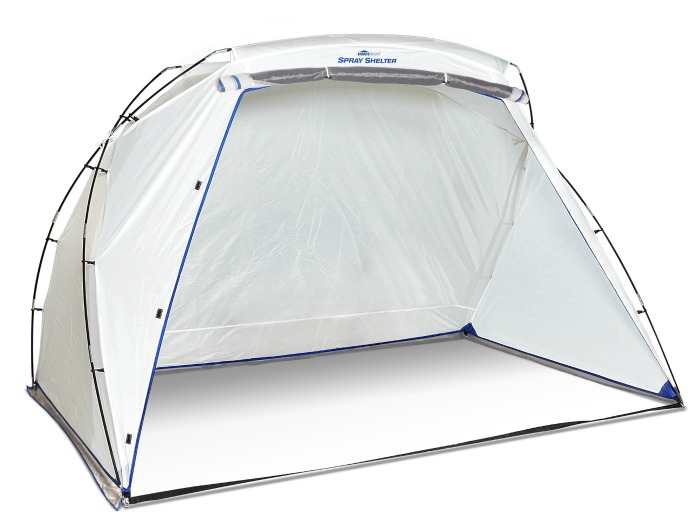 This spray shelter is perfect for painting larger pieces like doors, dressers, tables and any larger piece. The tent measures 9 feet wide by 6 feet deep and 5 1/2 feet high. We mainly use it in our garage but in the summer we’ve set it up outside and it even has a mesh screen that you can use to keep out bugs, leaves or anything else the wind might blow your way 🙂
It takes a few minutes longer to set up than the smaller pop up tent but worth every minute. One person can set it up on their own but if you set it up with two people it takes maybe 5-6 minutes.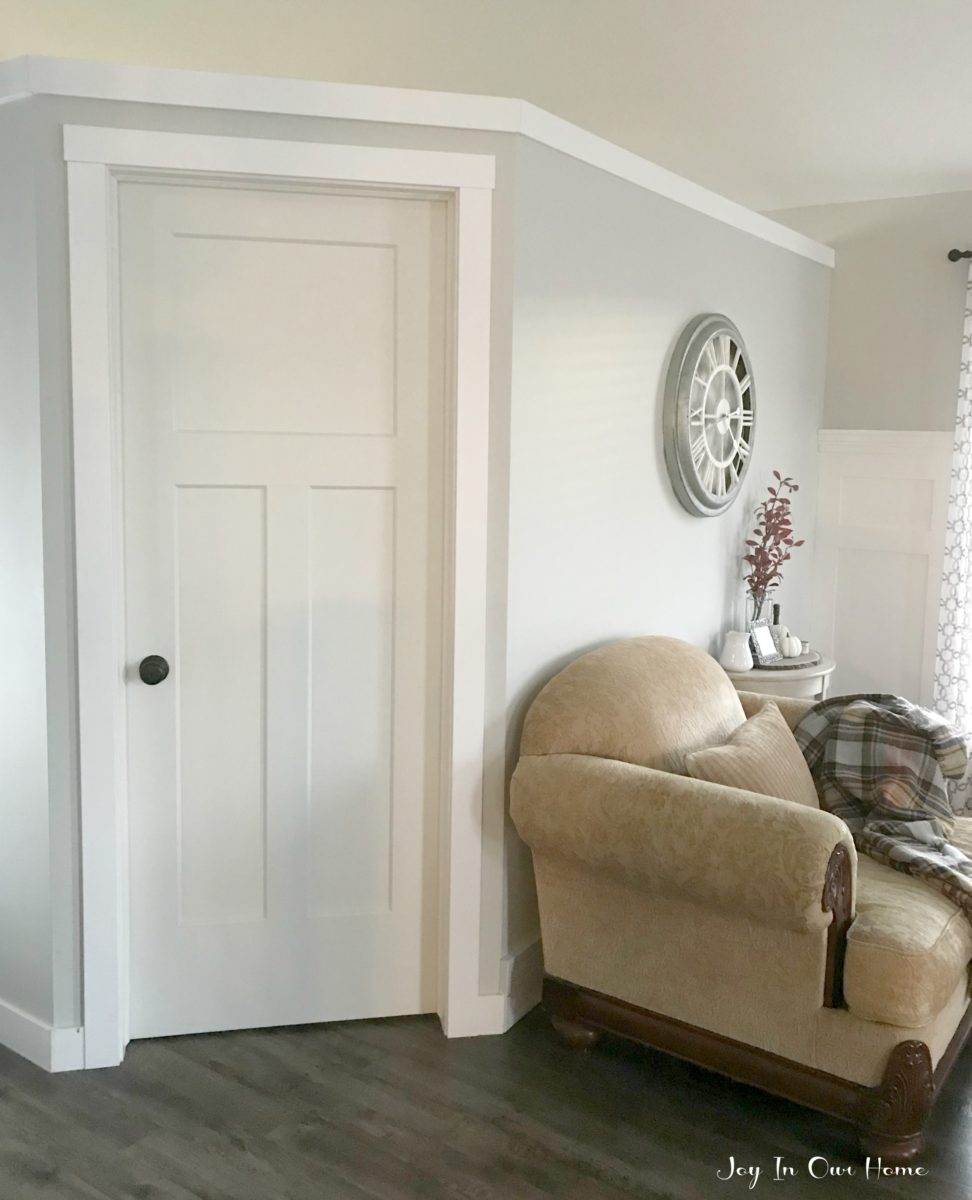
So last week my husband set up our spray shelter and we got busy. I keep tablecloths from the dollar store on hand to cover the floor. You’ll notice in the picture the floor isn’t completely covered but one of the things we love most about the sprayer is that it has very little over spray. The nozzle is adjustable and perfect to contain the spraying.
We chose the Winslow door by Masonite. We really liked the style of these doors and feel they suit our modern farmhouse style. They come primed so they haven’t really stuck out too, too much (they’ve been hung for over a year). But once they’re painted it’s amazing how white they really look!
After setting the tent up, I gave the doors a quick wipe down and then my husband laid the door on his adjustable sawhorses. We used Behr’s Door & Trim paint and gave the doors two coats of paint for each side. Once they were somewhat dry (but not completely ready for another coat) we carefully set them in a safe spot to dry completely and started on another door.
It feels like such a huge project has been lifted off our shoulders!!
A big thank you to HomeRight for sponsoring this post and for their amazing products that make doing projects around our home SO much easier!!!
Thanks for stopping by again and now it’s time to start sharing all things Christmasy!!

I know just what you mean, even that little bit of paint makes such a difference to making a home feel finished! And we love our spray tent too – it’s such a great way to keep that painting mess contained!
Remember when we first tried out the HomeRight sprayers and tents, Kristi? Seems so long ago now but those were good blogging days with our monthly challenges! Thanks so much for stopping by, friend!
Hi Kendra, what a great product. I love the door you chose, its traditional but a little different. I think people under estimate what a difference a door makes. Take care.
Thanks so much, Stacey! I don’t know what we’d do without our sprayer and shelter (especially with our long winters so we paint LOTS in the garage!) So glad you stopped by! Have a great rest of the week!