
Hello Everyone!
Hope you’re all having a fabulous day! It is kinda cool here today but loving how it feels springy and the grass is starting to show signs of green! Yay!!
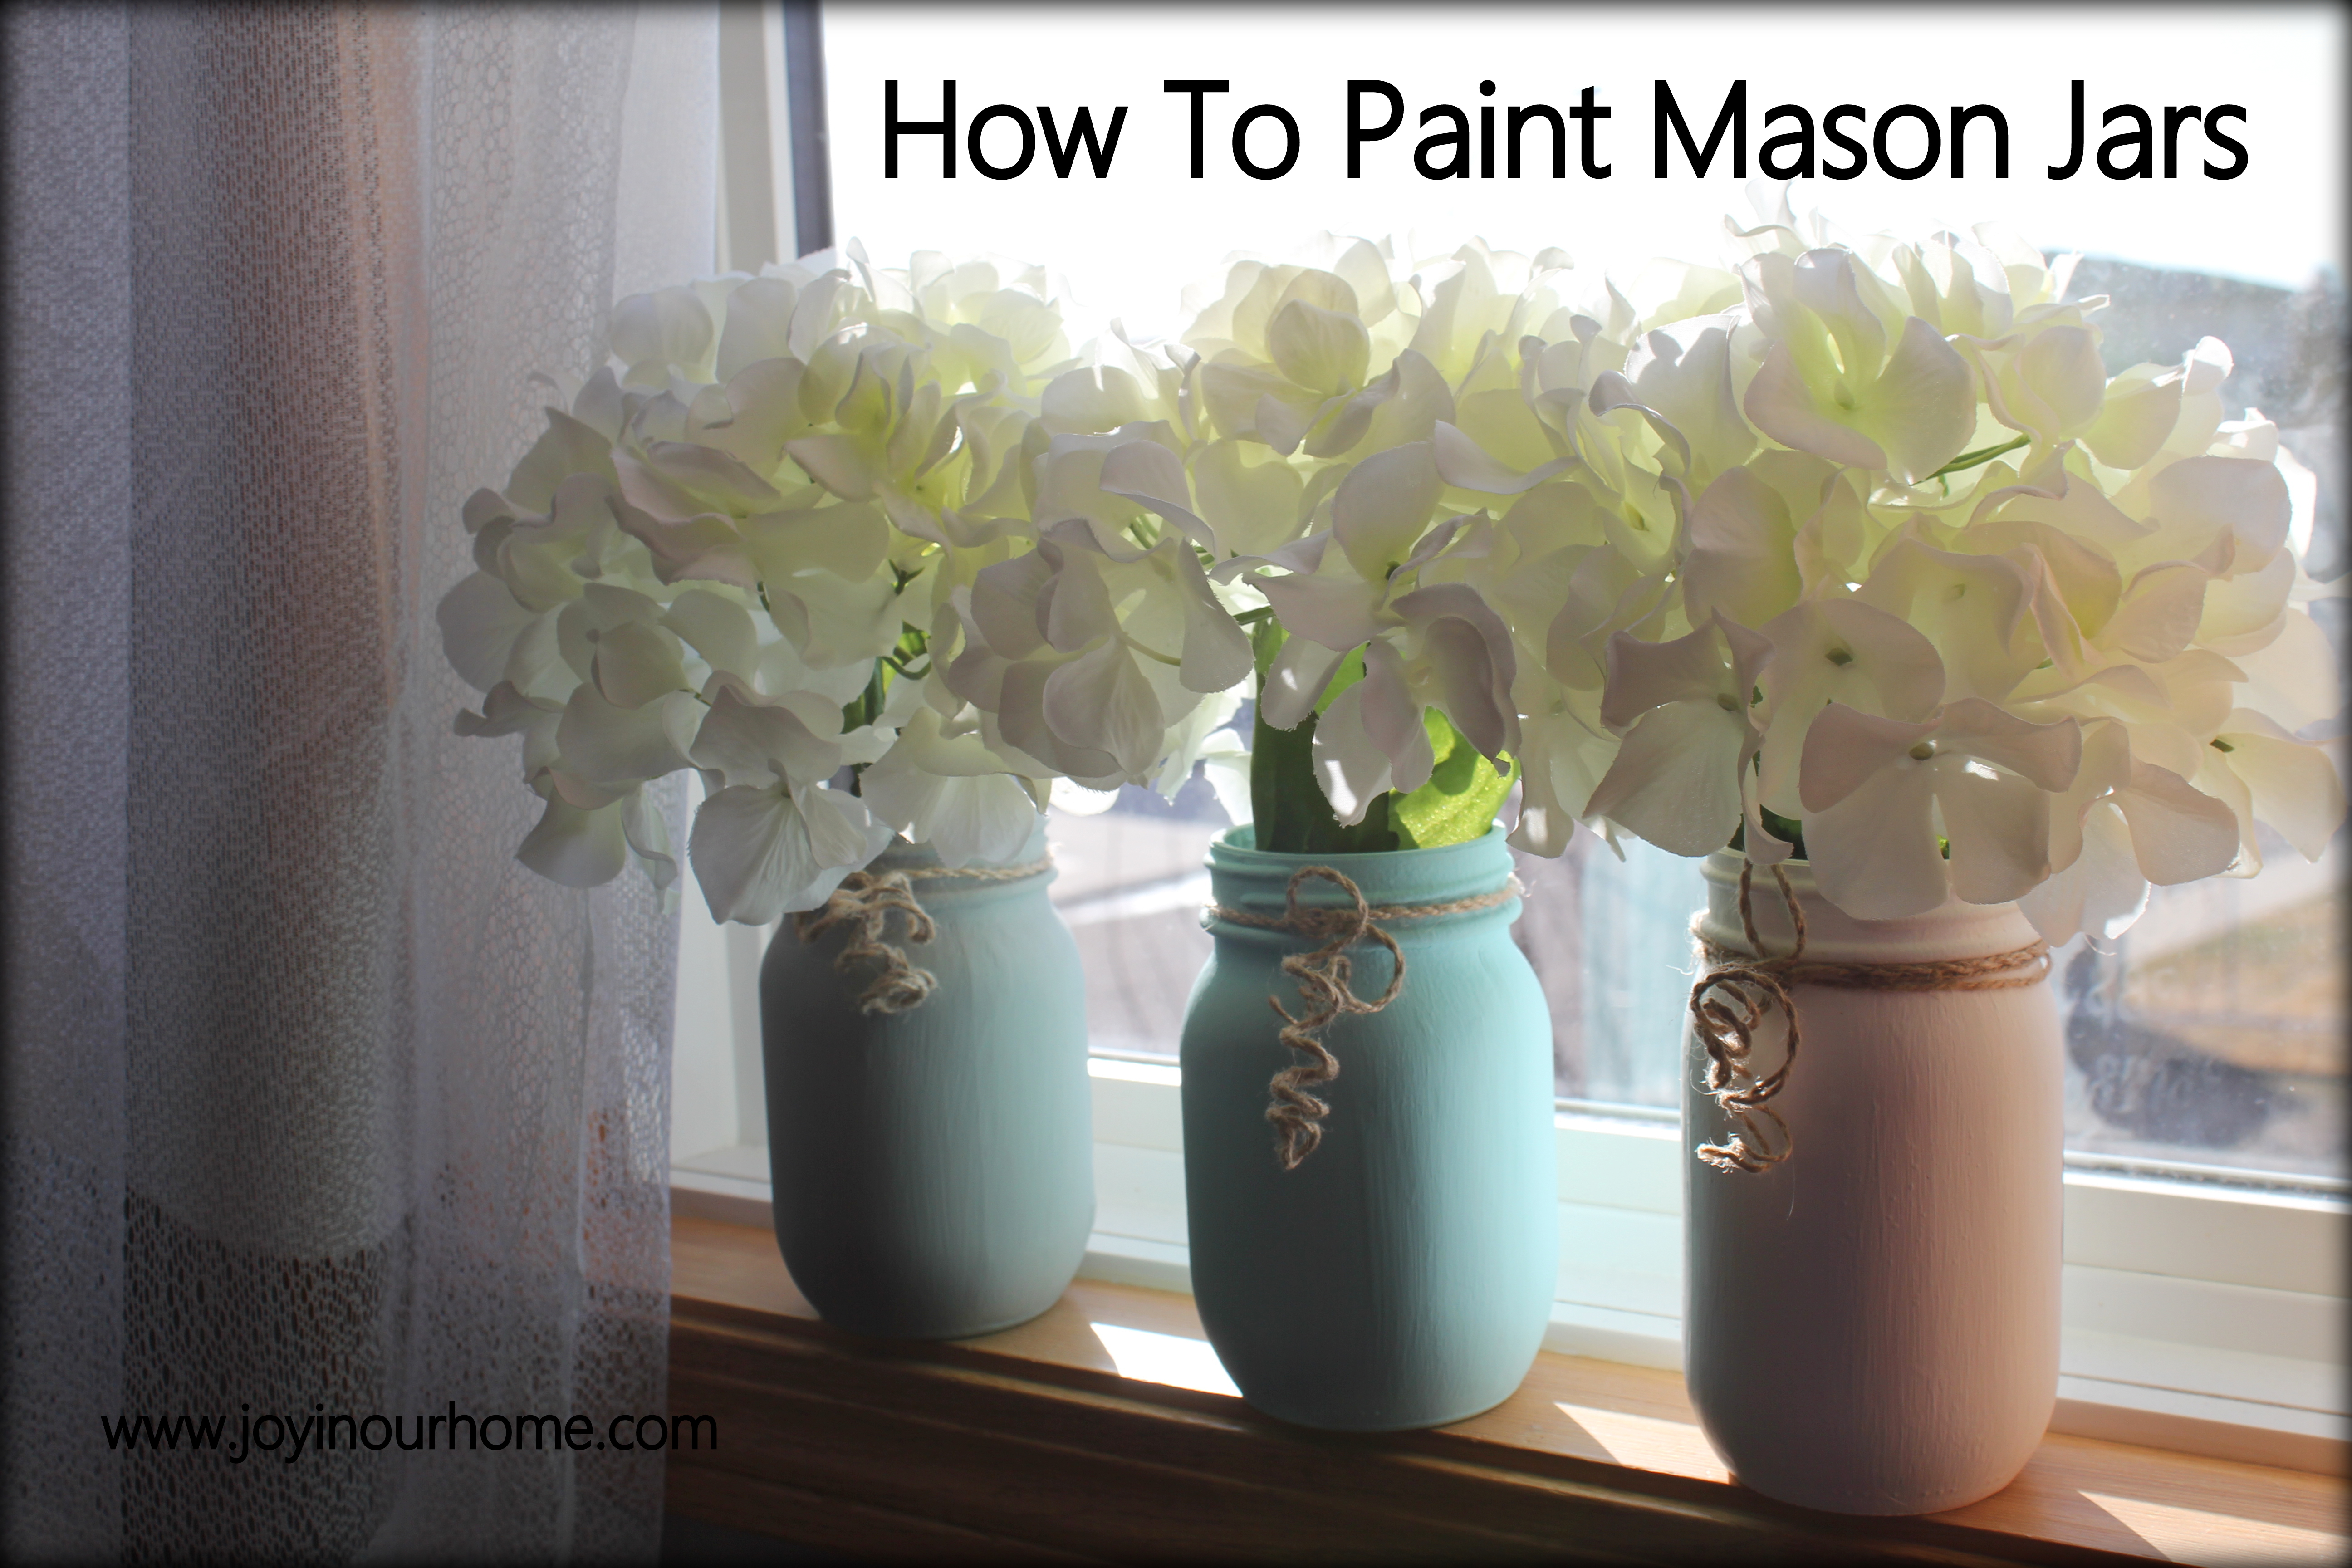
Do you decorate much for spring? We don’t do too much, but this year I did go out and bought some hydrangea bunches and other greenery to make the house look springy and add some pops of color. After seeing mason jars popping up on Pinterest everywhere, I decided to paint my own. They are super easy to make and I thought I’d share the tutorial with you today.
What you’ll need:
Quart sized jars, paint and foam brush
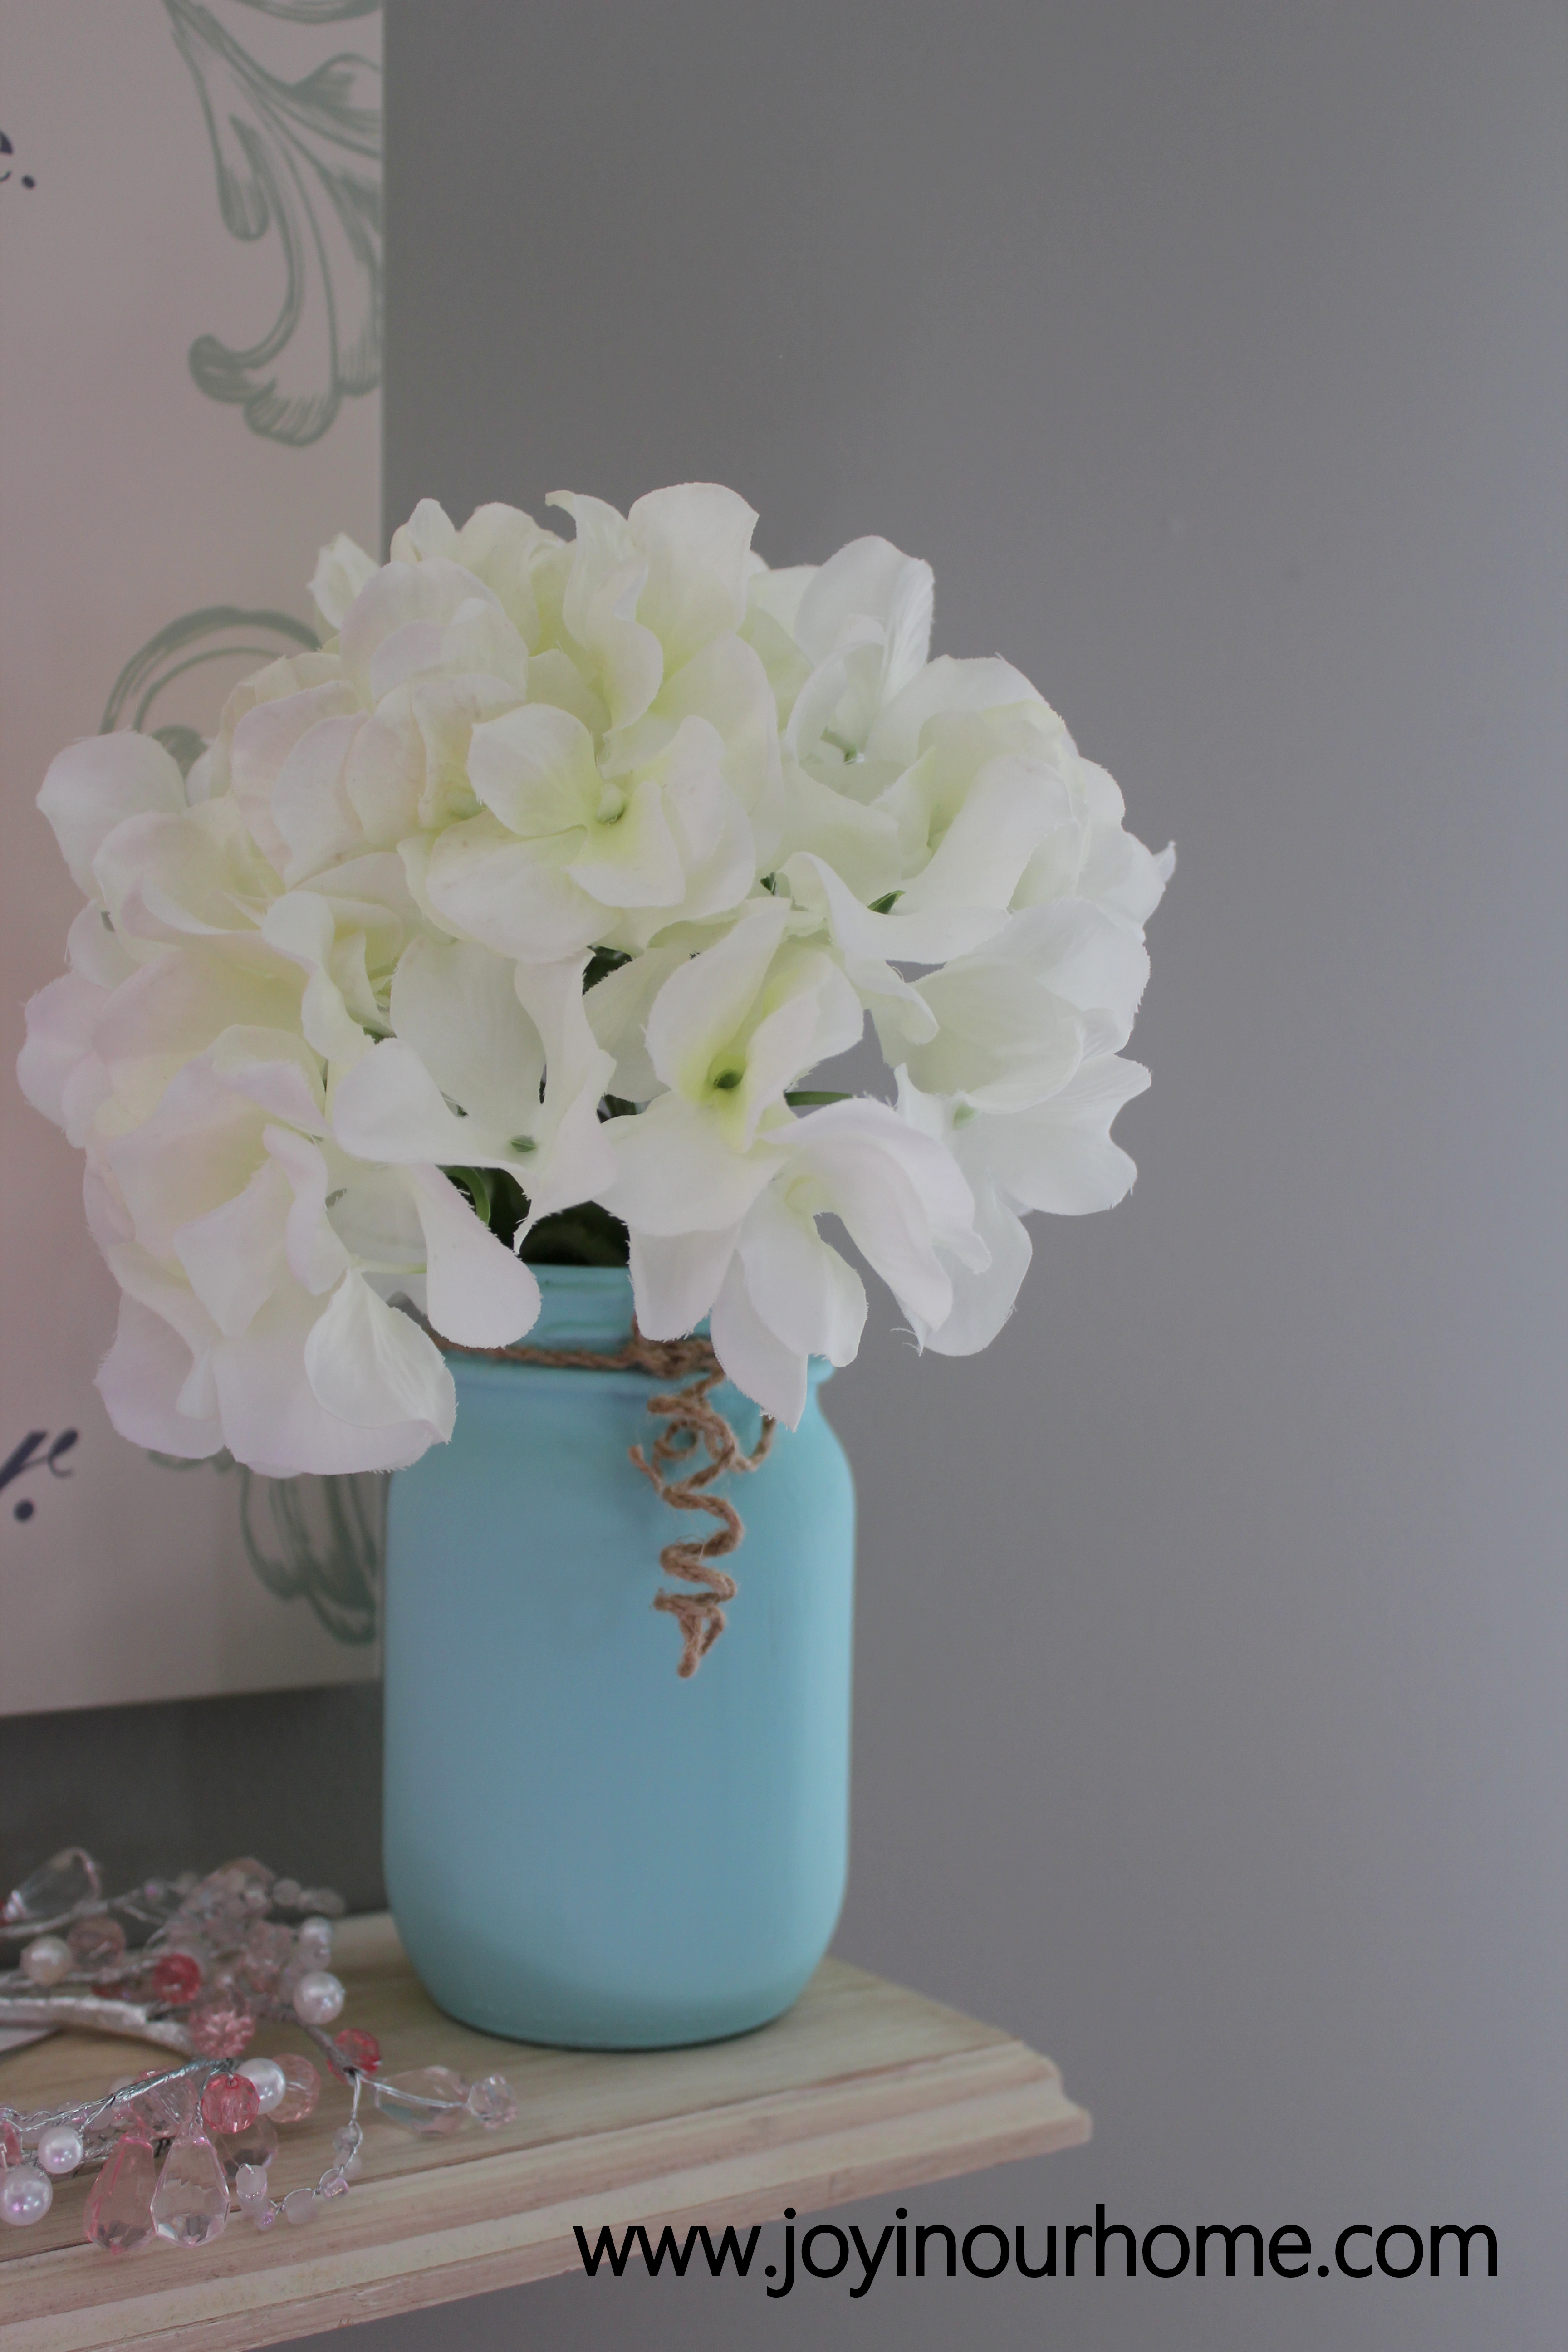
For paint, I used Craftsmart brand from Michaels. The little 59mL bottles were on last week for 66 cents each so I stocked up! The three colors I used for these jars are white, grey and robins egg blue.
I started painting at the bottom and then painted all the to the top, including the rim. I then let them dry completely, about 6-8hours. Waiting for them to dry is the hardest part because I wanted to get that second coat on right away. But this is very important in letting the paint harden…. ahem, I may have learned this the hard way!
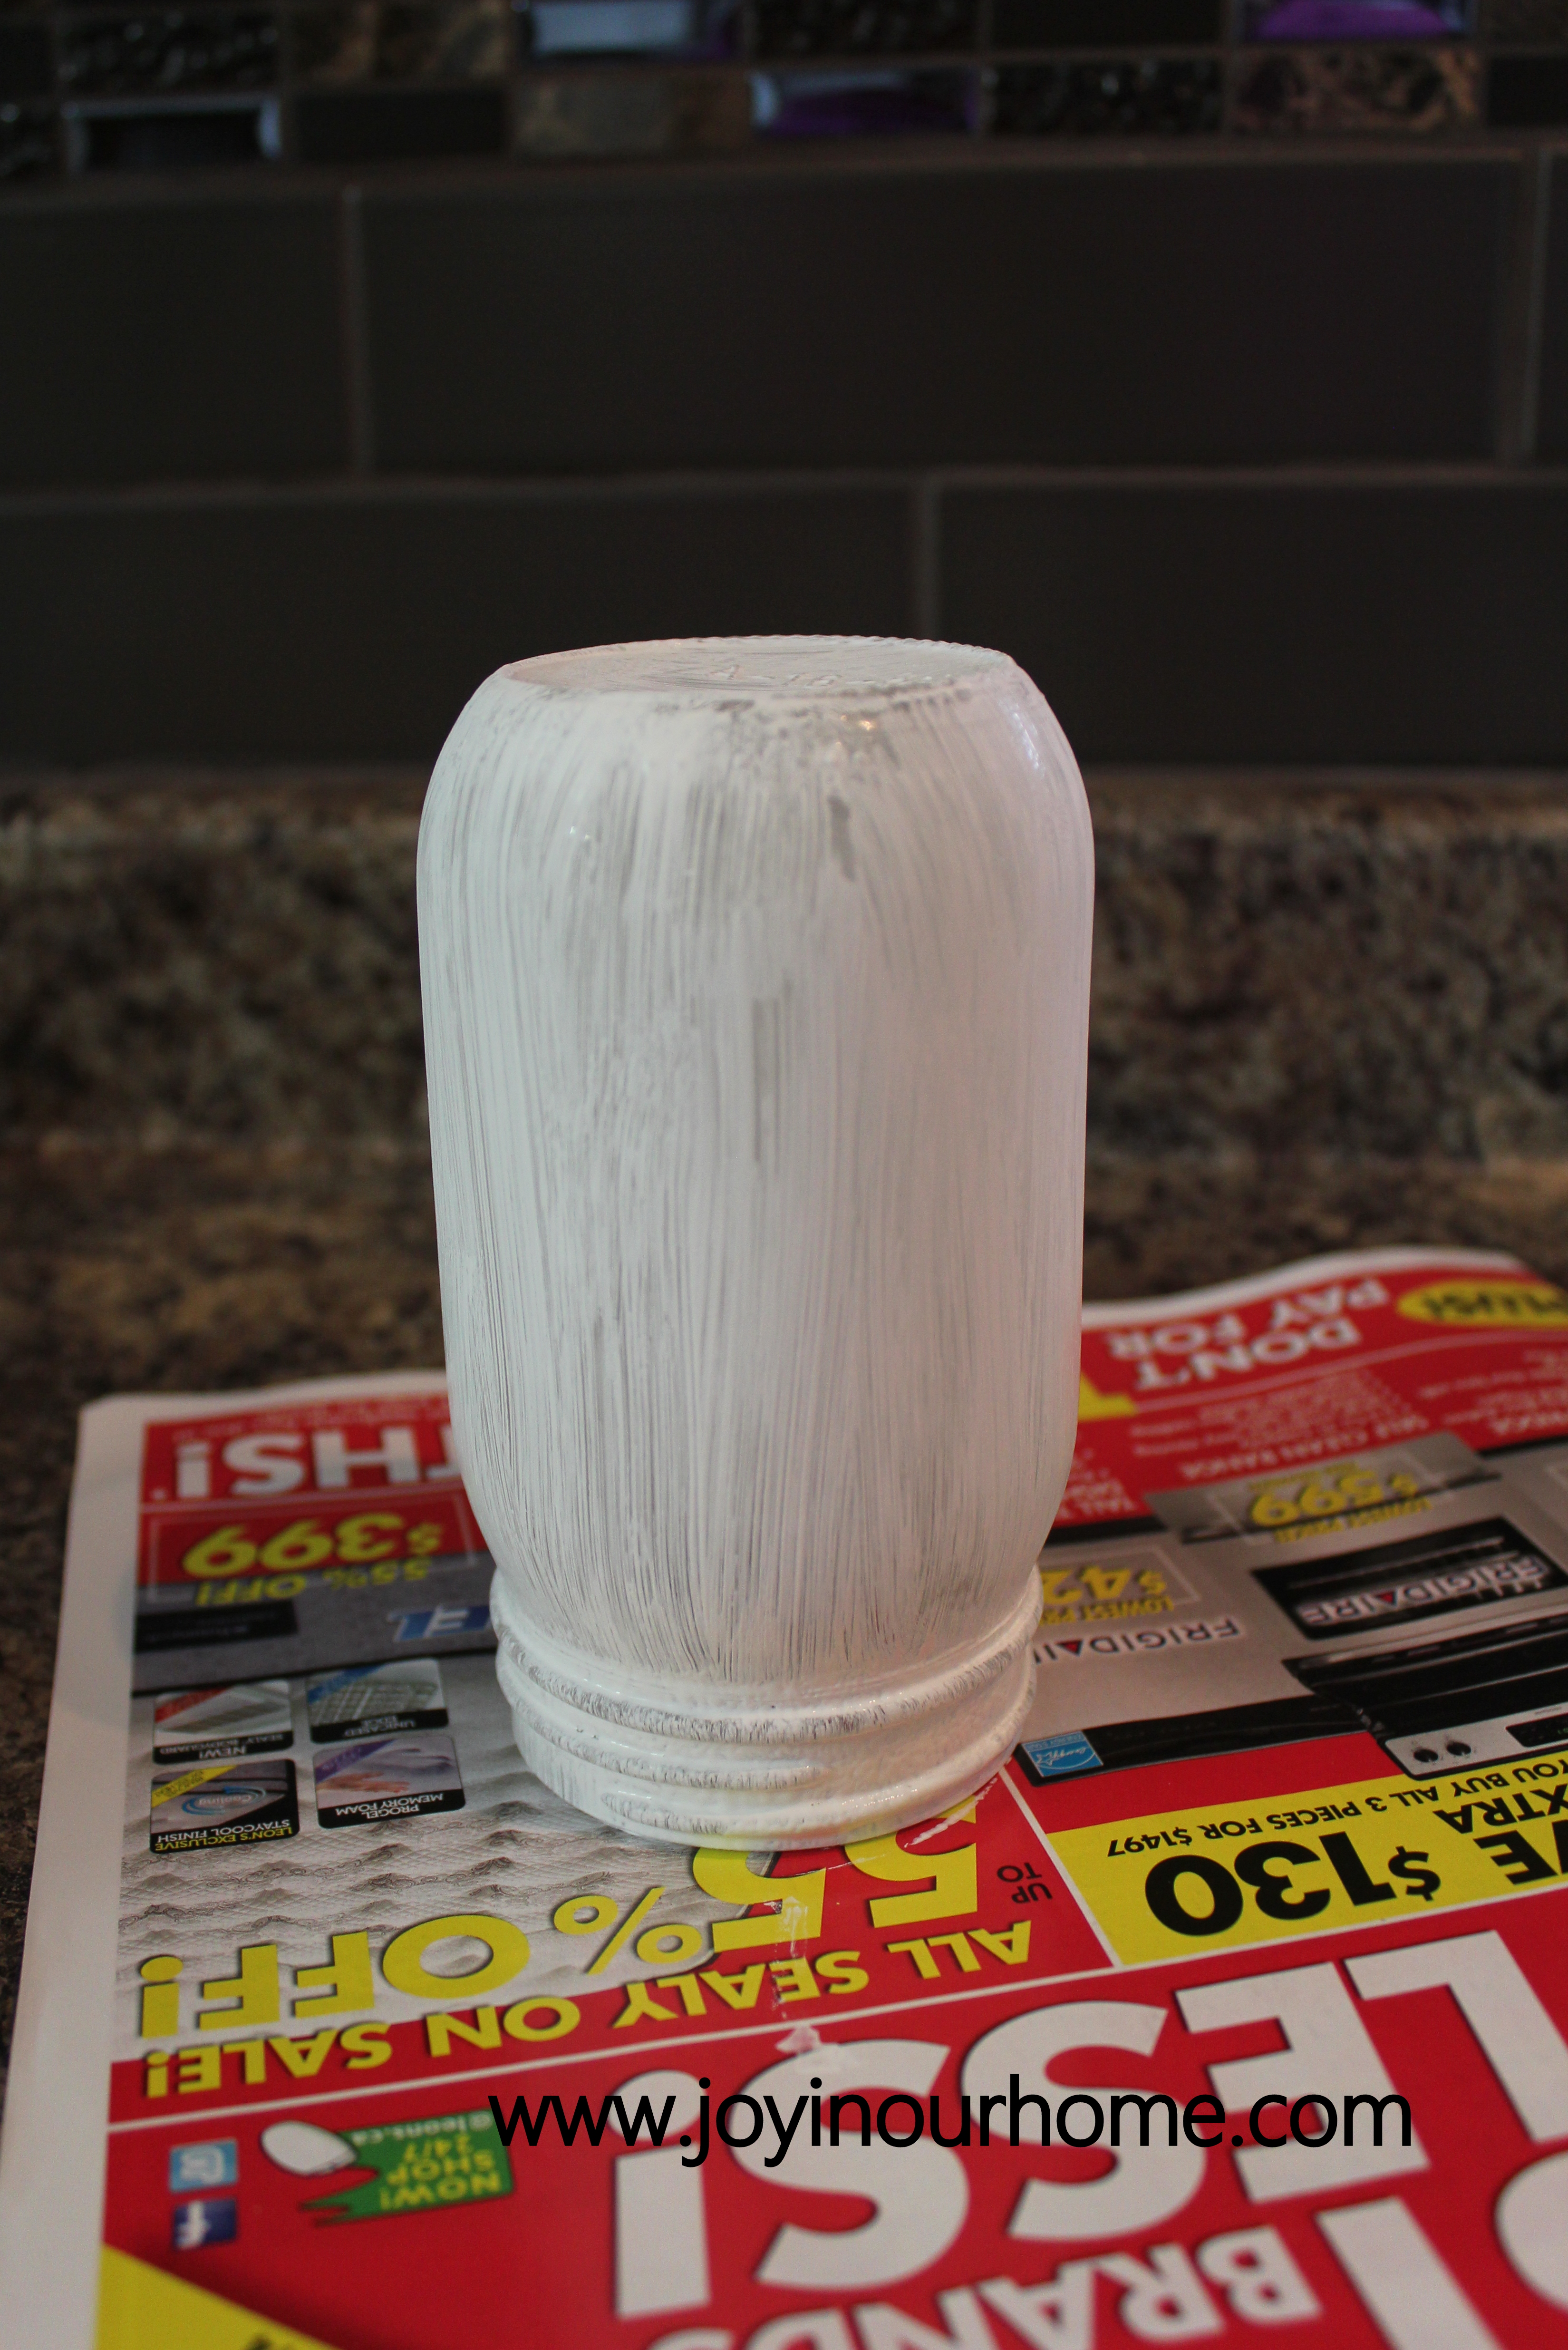
I gave my jars another coat after they were completely dry. Depending on the kind of paint you use, they might need a third coat or just some touch ups after the second coat. It is best to seal them with a clear coat of matte or satin sealer to prevent any chipping.
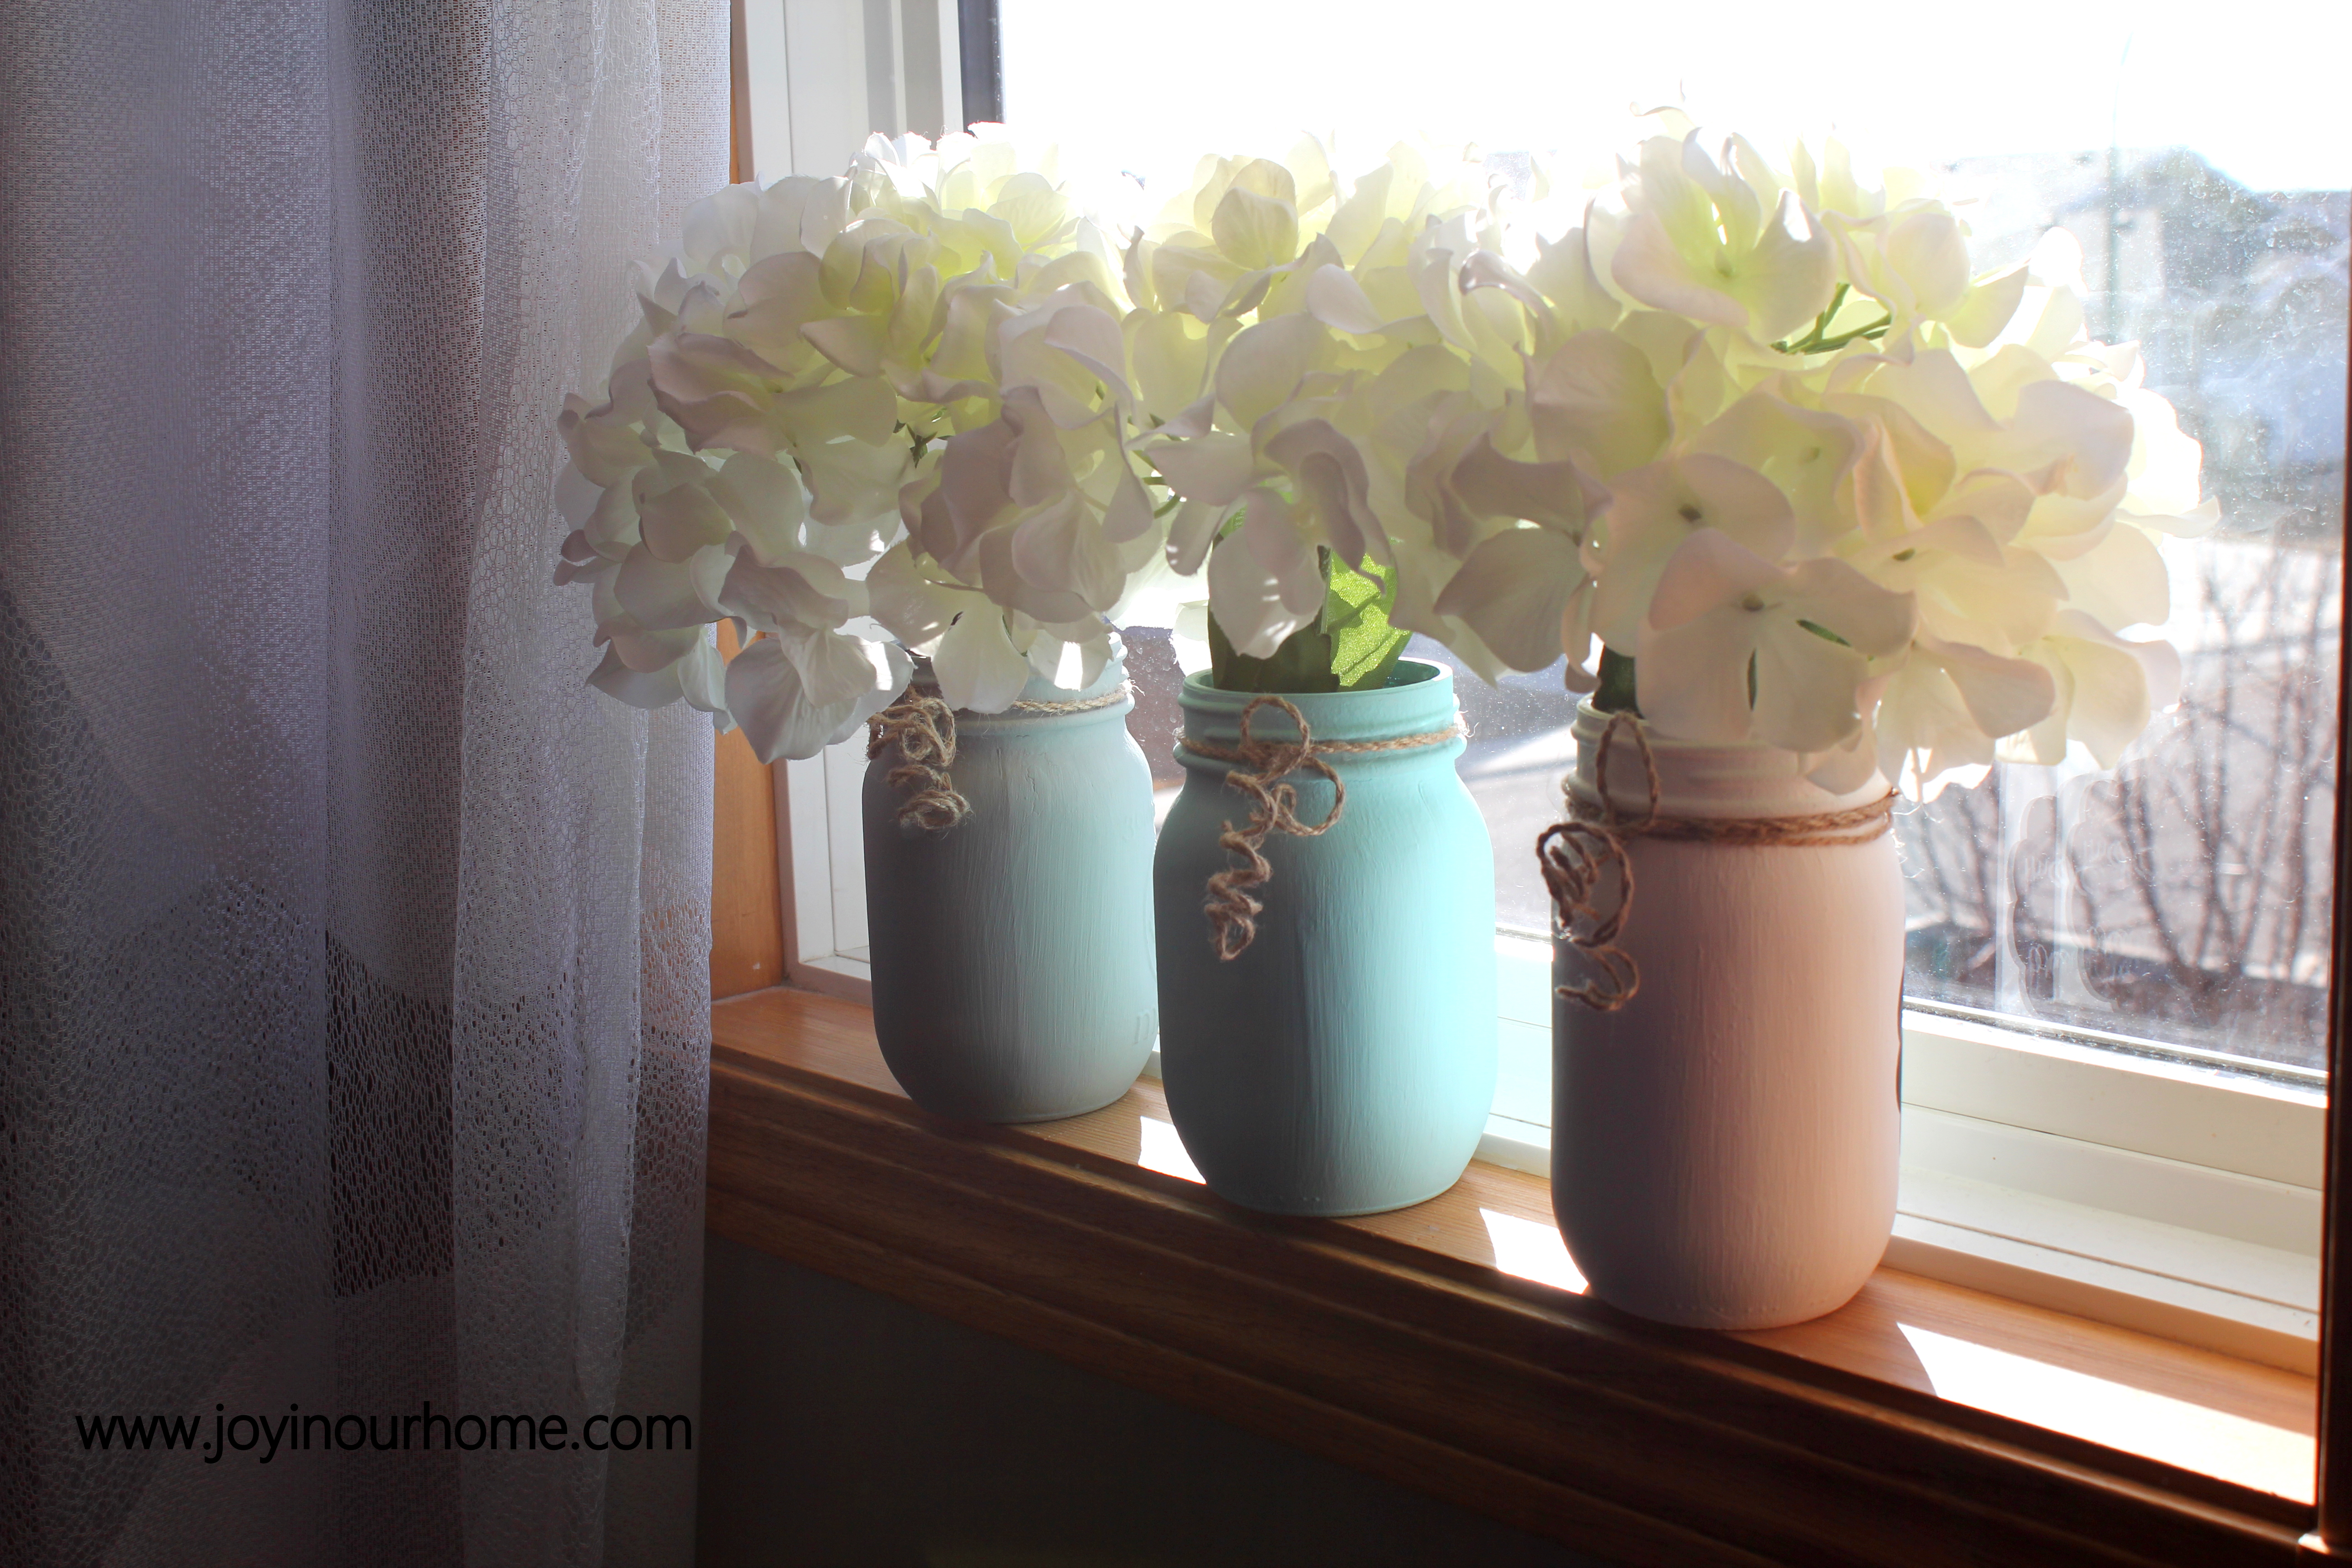
I wrapped some twine around mine and filled them with some hydrangea stems. Our little ones love to bring me flowers in the summertime so these will also look great with fresh flowers as well!
Thanks so much for stopping by and hope you have a fabulous week!
Until next time 🙂
Kendra
Linking up to: Frugal Crafty Home Blog, Anything Blue Friday


These are so cute, I love the flowers too!
Thanks so much Mindy! Appreciate you stopping by!
These turned out gorgeous Kendra! They’re the perfect decoration for Easter. Thanks so much for sharing this at Frugal Crafty Home Blog Hop!
Thank you Carrie 🙂 I appreciate it! Love coming to link up at your party!!
So pretty! Thank you for sharing! You are one of the features today at the Anything Blue Friday party at The Dedicated House. Here is the link so you can check out your feature. http://www.thededicatedhouse.com/2014/04/anything-blue-friday-week-54.html Hope to see you again at the little blue soiree. Toodles, Kathryn @TheDedicatedHouse
Thanks soo much Kathryn… that is so exciting for me! Thanks for being a fabulous host!