
Installing shiplap in our laundry room and learning some things along the way!
 Gmorning friends and welcome to another update on our $100 Room Challenge! (I know this post is a few days late but I cannot get my pictures of the shiplap uploaded!!! Before another day goes by, I’m going to post this anyway and keep trying!!)
Just in case you missed the last couple of weeks, I decided to join my friend Erin’s $100 Room Challenge by putting some finishing touches on our laundry room. While some of these touches are a tad bigger than ‘finishing touches’ it’s still nothing major and we should be able to finish this in 6 weeks… .right??! Here’s what I’ve shared already…
- Our plans for finishing the laundry room and some honest ‘before’ photos 😉
- Some pretty farmhouse laundry room inspiration
And now this week I’m so happy we get to check the shiplap off our list! We ran into a few unexpected problems when installing it and I’ll share our experience with you today.
My husband bought 2 sheets of hardboard from Home Depot and got one of the guys there to cut them into strips. After he had installed it, he read some posts that said not to use hardboard for ship lap because it will not stay on if it’s air-nailed on. It’s recommended to glue hardboard onto walls. Needless to say, we were a little worried. We couldn’t wait to see how it held up overnight as we had read that it’ll start to come undone after 24 hours.
Ours remained fine for 3 or 4 days. Until we went to paint it and it must be the moisture from the paint that loosened the boards. So yes, here and there, boards started loosening.
We looked at each other and thought “what do we do now??” But as with most DIY projects, things come up and you can’t get too discouraged.
My husband got the air compressor going and using the nail gun, nailed in an uncountable amount of nails. And then he painted it. And so far so good. Our fingers are all crossed we don’t run into more problems. If we do though, we’ve decided we’ll rip it out as it’s not worth the hassle of having to hammer more nails in, fill them and then repaint.
Had we not had a $100 limit on this room we likely would’ve chosen underlayment wood and so from our experience, no, we would never use hardboard again when installing ship lap.
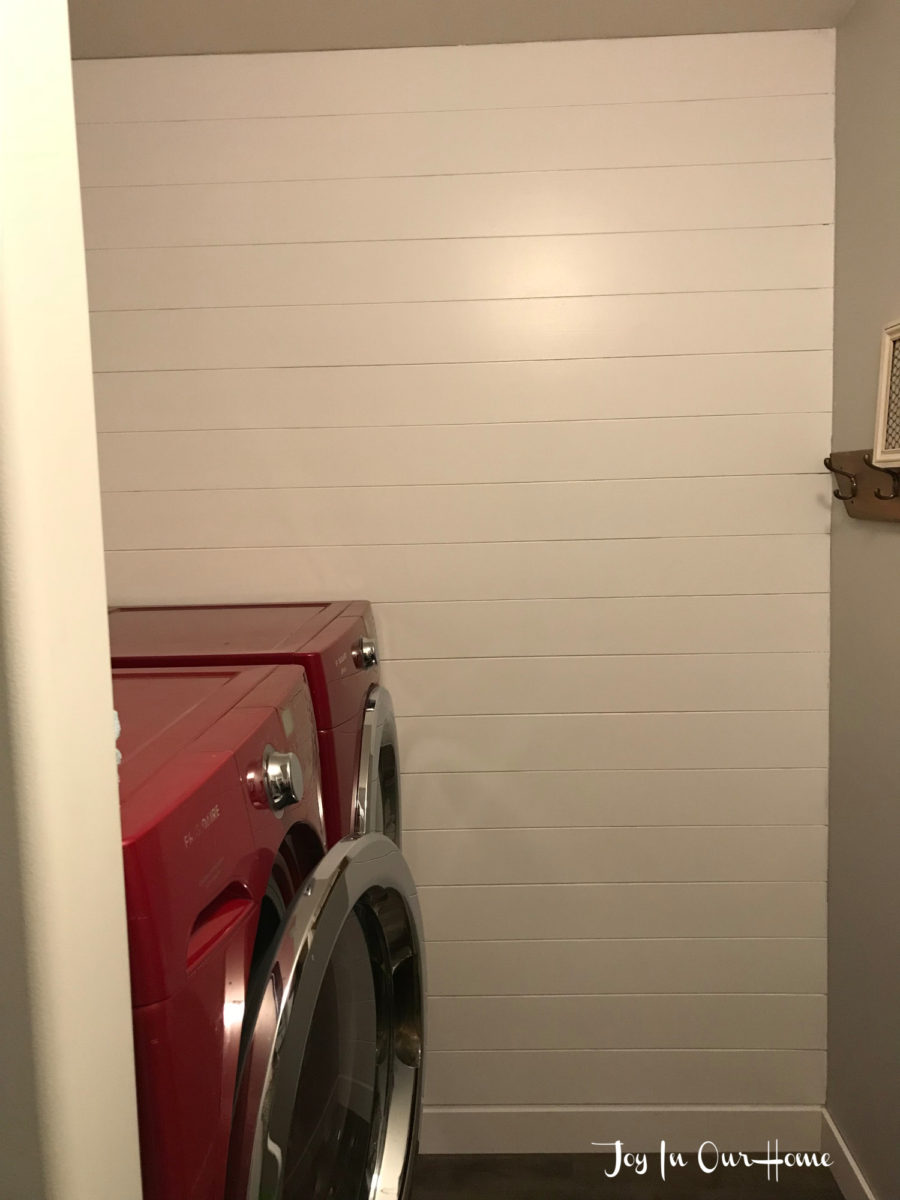 The shiplap itself was very easy to install. If you’ve been thinking about hanging some in your home, go for it! It took less than an hour but save yourself some headache and time and use underlayment. That’s actually what my husband used for the backs of our lockers and it’s been fine. And for our laundry room he cut the pieces 5″ wide and used a loonie coin to measure the space between each board.
And since I love checking things of my list… lets cross that ship lap off!
- Build and install shelves or cabinets above washer and dryer.
Add shiplap- Add countertop ontop of washer and dryer
- Add décor…. including making a DIY farmhouse sign for this room.
